
Gallery walls are a great way to add personality and charm to your living space, especially in apartments. For those residing in Gainesville, FL, where creativity thrives and homes are reflections of personal style, creating an eye-catching gallery wall can elevate your apartment's aesthetic appeal. Plus, it's a wonderful opportunity to showcase your favorite art pieces, photographs, and mementos.
In this blog post, we'll guide you through the steps to create a stunning gallery wall in your Gainesville apartment. From planning and selecting pieces to arranging and hanging, we've got you covered. Let's get started and transform your apartment into a personalized art gallery!
Before we jump into the how-to, let's discuss why a gallery wall is a fantastic addition to your apartment:
The first step in creating a gallery wall is to consider the space you have available. Measure the wall where you plan to hang your gallery to ensure you have enough room for your desired layout. Think about the room's overall style and color scheme to ensure your gallery wall complements the existing decor.
Choosing a theme for your gallery wall can help create a cohesive look. Themes can range from travel photos, botanical prints, and minimalist art to a mix of family photos and abstract artwork. The key is to select pieces that resonate with your taste and fit well together.
Collect the art pieces, photographs, and mementos you want to include in your gallery wall. Don't be afraid to mix various sizes, frames, and styles. This diversity adds visual interest and depth to your display. Layout your pieces on the floor or a large table to experiment with different arrangements until you find one that you love.
There are several popular layouts you can choose from for your gallery wall:
Once you've chosen a layout, create a mockup of your gallery wall on the floor or using paper cutouts on the wall. This step allows you to visualize the final arrangement and make adjustments before committing to hanging the pieces. Use painter's tape to outline the frames' positions on the wall.
You'll need the following tools to hang your gallery wall:
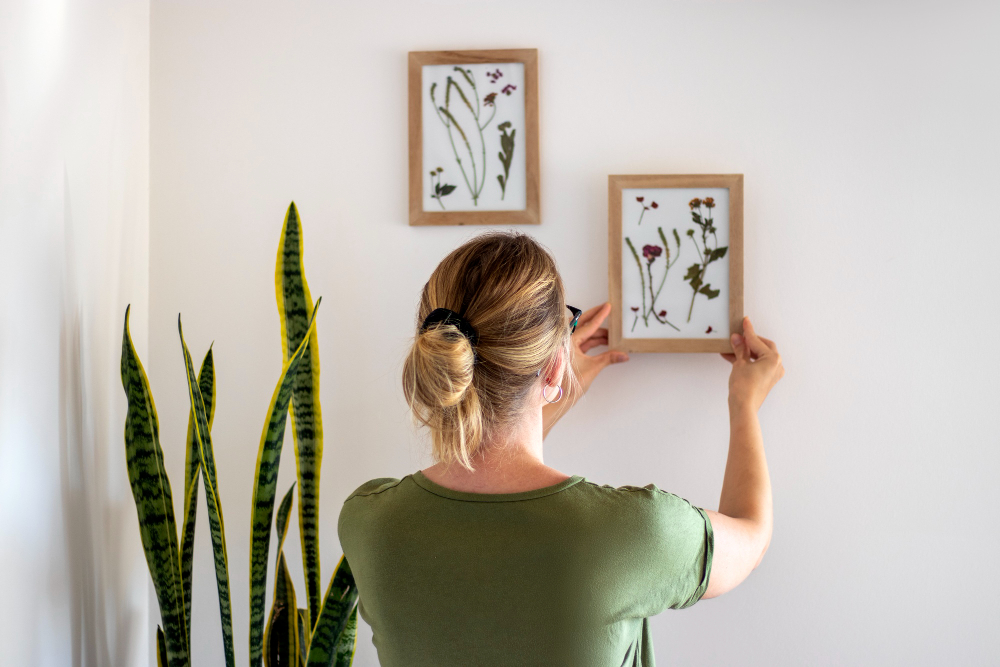
Begin hanging your pieces from the center of your arrangement and work outward. Use a level to ensure each piece is straight and evenly spaced. For heavier frames, use picture hooks or anchors to provide extra support. Adhesive strips can be used for lighter frames and to avoid damage to the walls.
Once all the pieces are hung, step back and take a look at your gallery wall. Make any necessary adjustments to ensure everything is aligned and balanced. Remember, a gallery wall doesn't have to be perfect—slight variations can add to its charm.
To enhance your gallery wall, consider adding decorative elements such as wall sconces, small shelves, or greenery. These additions can add dimension and draw attention to your display.
Now that your gallery wall is complete, take a moment to enjoy your creation. Invite friends and family over to admire your handiwork and share your personal stories behind each piece. A gallery wall is not just a decoration; it's a reflection of your personality and experiences.
Creating a gallery wall in your Gainesville, FL apartment is a rewarding and creative process that allows you to personalize your living space. By following these steps, you can design a stunning and cohesive display that adds character and charm to your home. Whether you're showcasing art, family photos, or travel mementos, your gallery wall will be a focal point that sparks conversation and admiration.
If you're looking for apartments in Gainesville, FL, consider The Mayfair Apartments. Our beautiful and spacious apartments provide the perfect canvas for your gallery wall and other creative projects. Contact us today to schedule a personal tour and discover your new home.